
Updated: June 2025
Overview
This post is the second part of a 6-post series with step-by-step procedures that I use to setup a simple WordPress website on AWS. In this post, some basic security improvements are made to the AWS instance.
Note: The original version for this series was written in 2016 with EC2 servers running Ubuntu 16.04. This series has been completely updated in mid 2025. An example website, Seattle Hobbies, will be used throughout this series. The development of the Seattle Hobbies website assumes a simple low-maintenance website with low visitor count with no auto-scaling or redundancy. As such, implementation and configuration are easy. I will most likely seek the support of professional web-dev experts if I want to establish a sophisticated website that handles commerce or significant traffic with lots of site visitors.
Adding an Alternate User for SSH:
Note: Logged into AWS
If not logged in, then log into AWS SSH as ubuntu (default user) via a command line interface (e.g., terminal on the Mac or PuTTY on Windows) as described in Part 1.
Create a second user (replace user2 with your username of choice) and create the account password for user2 that will be used with sudo commands. Just hit return on all the info requests (i.e., full name, room number, work phone, home phone, other).
Add the new user to the admin group:
Either change the AllowUsers line or add it:
Restart the ssh service:
Note: Logged out of AWS
Note: Logged into Local Computer
Now, the keys need to be downloaded to the local machine to access the AWS instance via SSH as user2. The process is different depending on whether your local computer is a Mac or Windows PC.
Change the directory on AWS to ‘/tmp2’:
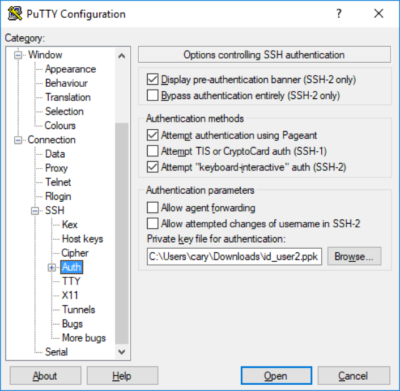
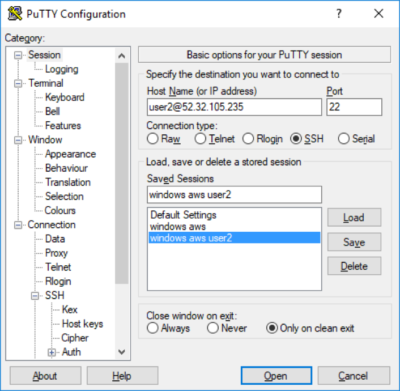
Now, let’s configure PuTTY to access AWS as user2:
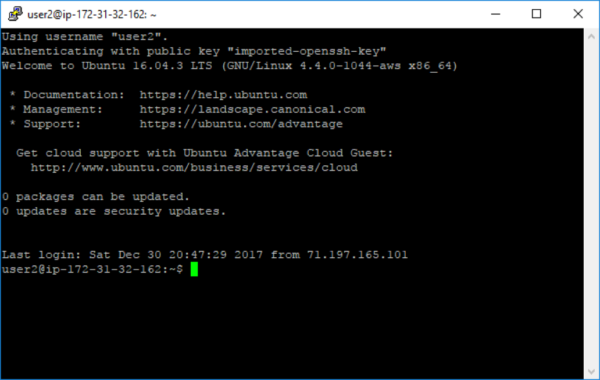
Note: Logged into AWS
If the connection to AWS as user2 is successful, then remove files from /tmp2 and the folder itself:
Removing Ubuntu login access:
It is a good practice from a security perspective, to remove SSH access for Ubuntu default user (root) logins.
Log in as user2 to edit the sshd_config file:
Restart the ssh service:
Updates to Ubuntu:
With a new instance, it is time to apply any updates to Ubuntu 24.04 that may be needed. Follow the steps in A Collection of AWS EC2 Ubuntu Tips, Section: Updates to Ubuntu.
That’s it. Linux Ubuntu instance is established and running, alternate user is established, keys have been created, and Ubuntu updates have been applied.
