Updated: June 2025
Overview
This post is the third part of a 6-post series with step-by-step procedures that I use to setup a simple WordPress website on AWS. In this post, a LAMP stack is setup on the AWS instance. LAMP is an acronym for Linux, Apache, MySQL, and PHP.
Note: The original version for this series was written in 2016 with EC2 servers running Ubuntu 16.04. This series has been completely updated in mid 2025. An example website, Seattle Hobbies, will be used throughout this series. The development of the Seattle Hobbies website assumes a simple low-maintenance website with low visitor count with no auto-scaling or redundancy. As such, implementation and configuration are easy. I will most likely seek the support of professional web-dev experts if I want to establish a sophisticated website that handles commerce or significant traffic with lots of site visitors.
Reference Material:
Much of the material in this post comes from the excellent Tutorial ‘How To Install LAMP Stack (Apache, MySQL, PHP) on Ubuntu’ by Kong Yang, Erika Heidi, Sasha Abid, and Vinayak Baronial.
Installing Apache Web Server Package:
If not logged in, then log into AWS SSH as user2 (e.g., alternate user from previous post) via a command line interface (e.g., terminal on the Mac or PuTTY on Windows) as described in AWS WordPress 2: Improve Security.
To install the Apache web server package on the EC2 instance, enter the following command:
To allow connections on the HTTP port 80 as the initial default UFW firewall configuration, enter the following command:
To verify installation, enter the following command:
The response should be similar to:
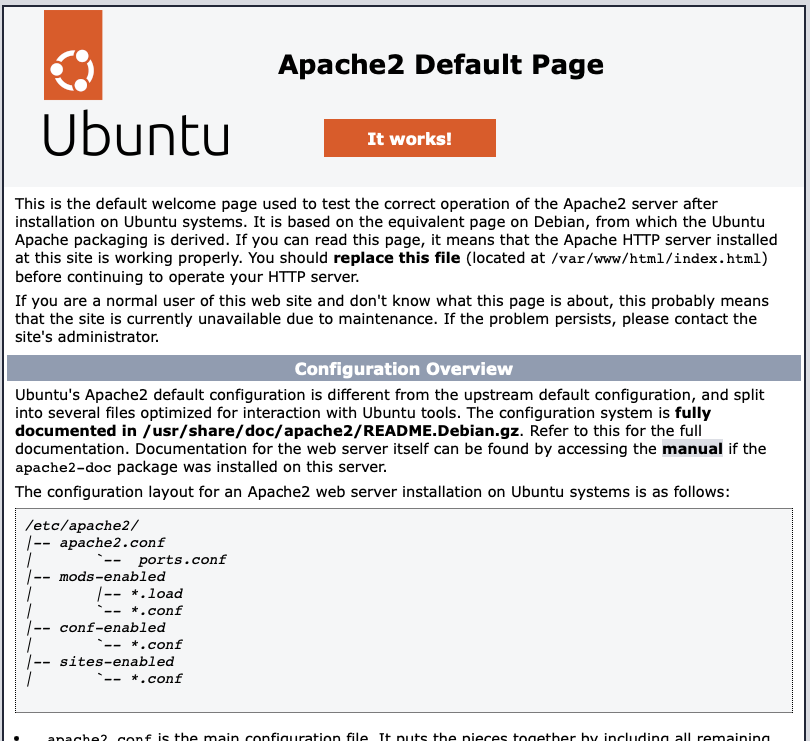
To verify if the installation was successful, enter either the elastic IP address (e.g., http://44.247.136.248) or the website name (e.g., http://seattlehobbies.com) into a web browser and see if this is the response:

Installing MySQL Server Package:
To install the MySQL server package on the EC2 instance, enter the following command.
To avoid an installation error, a configuration step needs to be completed prior to performing the MySQL security installation. Open MySQL with the following command:
At this point, the prompt has changed to the MySQL prompt indicating you are now in the MySQL database.
Enter the following MySQL command:
After making this change to the MySQL database which created a root user with a placeholder password, exit MySQL with this command:
To perform the MySQL security installation, enter the following command:
Note that the first prompt requests the password for the user root. Reply with ‘password’ which was the placeholder from the previous step. Here are the replies to the series of prompts requested during MySQL setup:
Installing PHP:
To install the PHP, Apache PHP, and the MySQL PHP packages enter the following command:
Confirm the version of PHP with the following command:
Then, restart Apache:
To test the PHP installation, a small PHP file ‘info.php’ will be created and placed in the default website directory ‘/var/www/html’:
Add the following lines in the nano editor:
Enter ctrl-x, type y, and return to save.
Change the ownership of this file:
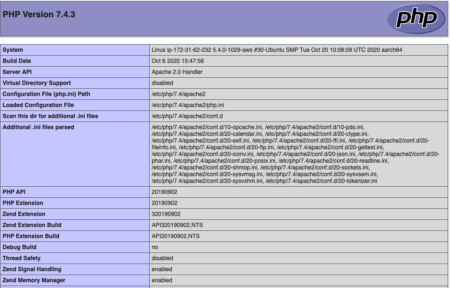
Time to check PHP operation. In a browser window, enter either the elastic IP address (e.g., http://44.247.136.248/info.php) or the website name (e.g., http://seattlehobbies.com/info.php). The PHP file will display a ton of information about the current PHP installation.

Other useful PHP modules can be installed at this point:
Then, restart Apache:
Reloading the browser window with either the elastic IP address (e.g., http://44.247.136.248/info.php) or the website name (e.g., http://seattlehobbies.com/info.php) will now include PHP information about several other packages.
Installing APCu PHP cache to speed up PHP:
APCu speeds up PHP pages by caching and optimizing PHP intermediate code. To install APCu, enter the following command:
sudo apt-get -y install php-apcu
Then, restart Apache:
sudo systemctl restart apache2
Reloading the browser window with either the elastic IP address (e.g., http://44.247.136.248/info.php) or the website name (e.g., http://seattlehobbies.com/info.php) will now include PHP information about APCu.
Note: Since the ‘info.php’ displays sensitive server details about the EC2 instance, it is important to delete this file now that PHP operation is verified.
